You know those really annoying projects that are on your 'to do list' for so long, you loose sight of them and what you want to achieve and how you are going to achieve it? I can sense some nods happening out there. Well this project was one of them....
On the weekend we ticked off a to do list that had been lingering for quite some time. It had to do with our pool fence that was non existent alongside the deck we built. We removed the original perspex sheeting that used to sit from the patio ground to the patio roofline when we constructed the deck and since then intended to replace it with frameless glass fence panels, so we could still sit on the deck and see down into the pool area. We had looked around at Bunnings and Masters and compared their products, but having a non standard length we were trying to cover it was easier to go direct to a supplier who can cut to size. Its funny, you sometimes assume going to these big hardware stores is the cheapest option, well its not! We saved $250 on just the two panels we installed by purchasing a DIY kit from the supplier, not a big hardware store. Imagine the savings if you were purchasing a larger quantity of panels!
So now the pool area is 100% safe and fenced (must to Coopar the Border Collie's dismay, he loves hopping into the pool at his leisure!). The project only took a few hours and the result is brilliant. Take a look at the progress shots and see for yourself....
BEFORE The exterior of the house and pool area. The fencing in the top right corner was a perspex plastic sheet that extended from the patio ground to the roof line. This is a image of the house when we moved in.
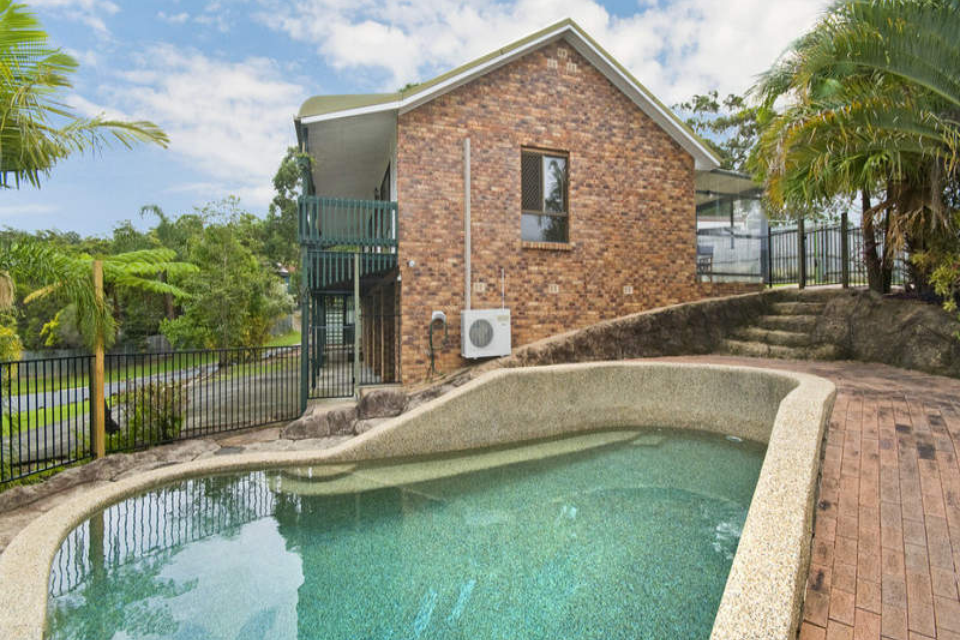
BEFORE You can see in the top right the perspex fence that enclosed the pool area.

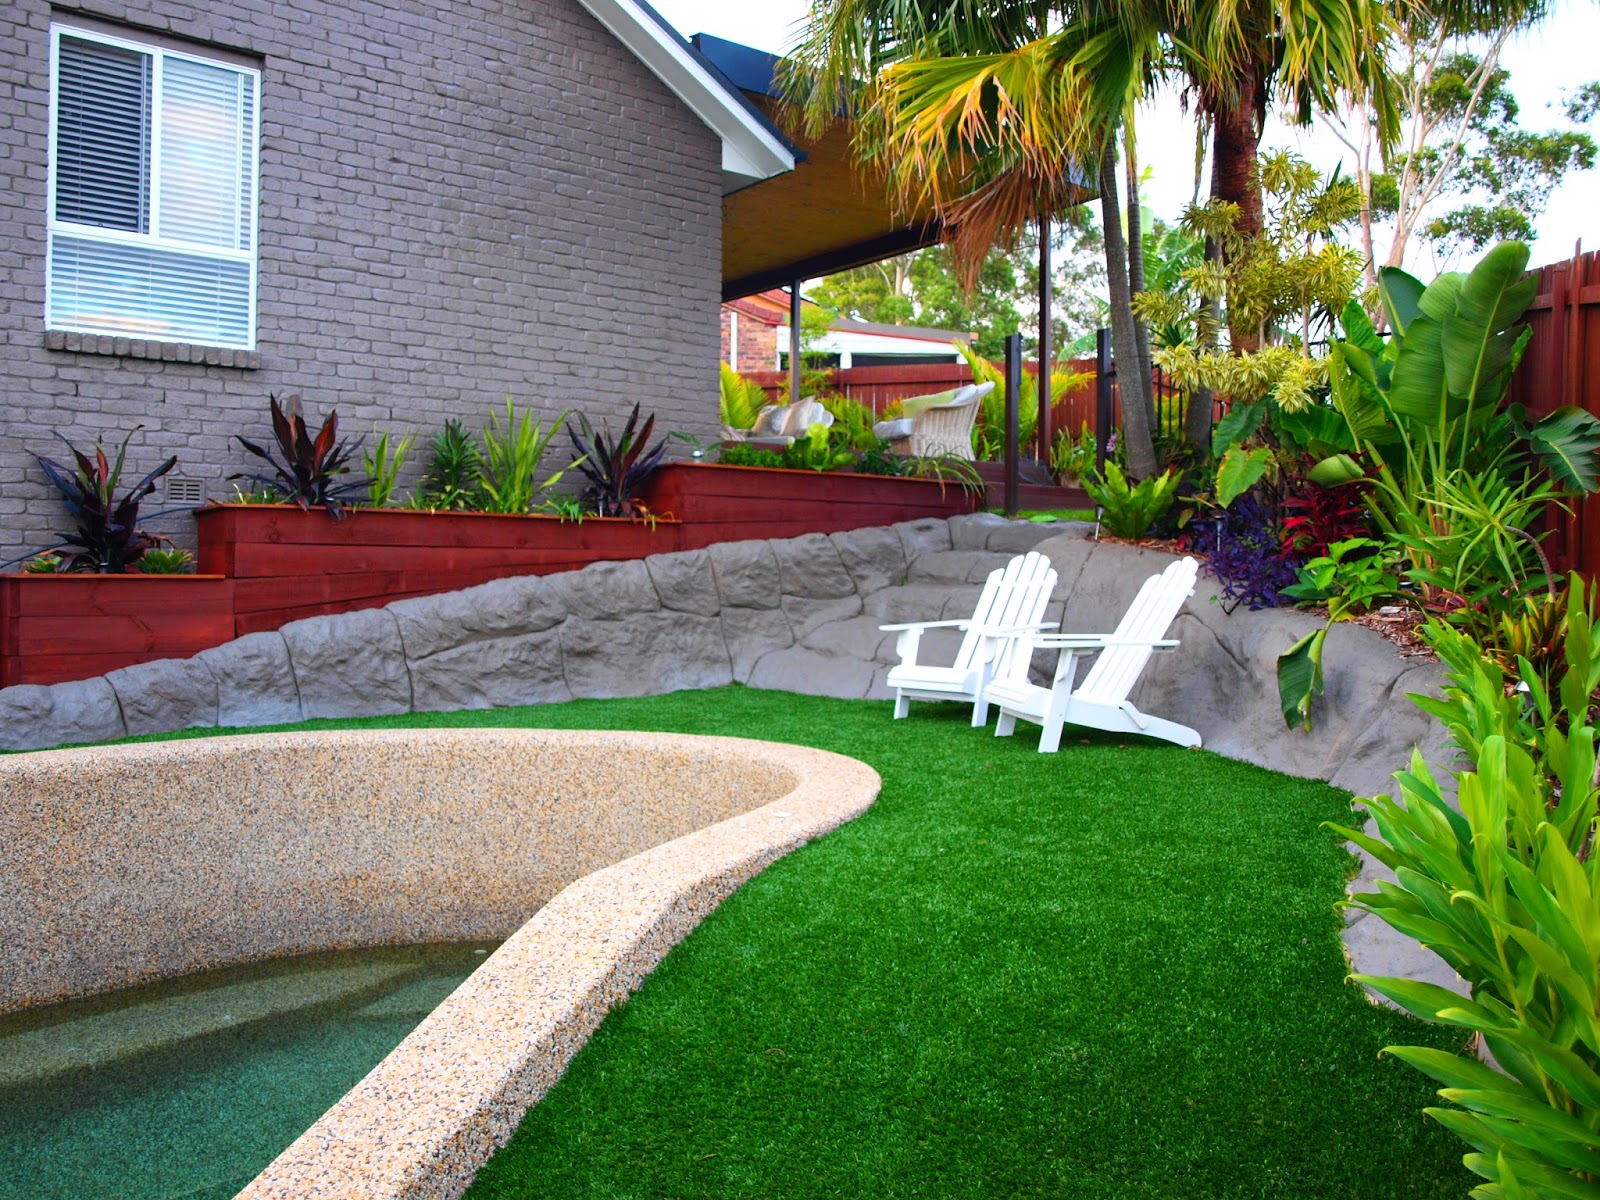
PROGRESS You can see in the top right the non existent fence - but you probably didn't notice that as you were too busy imagining yourself in those Cape Cod chairs admiring the recent handyworks :P

Follow Glamour Coastal Living:
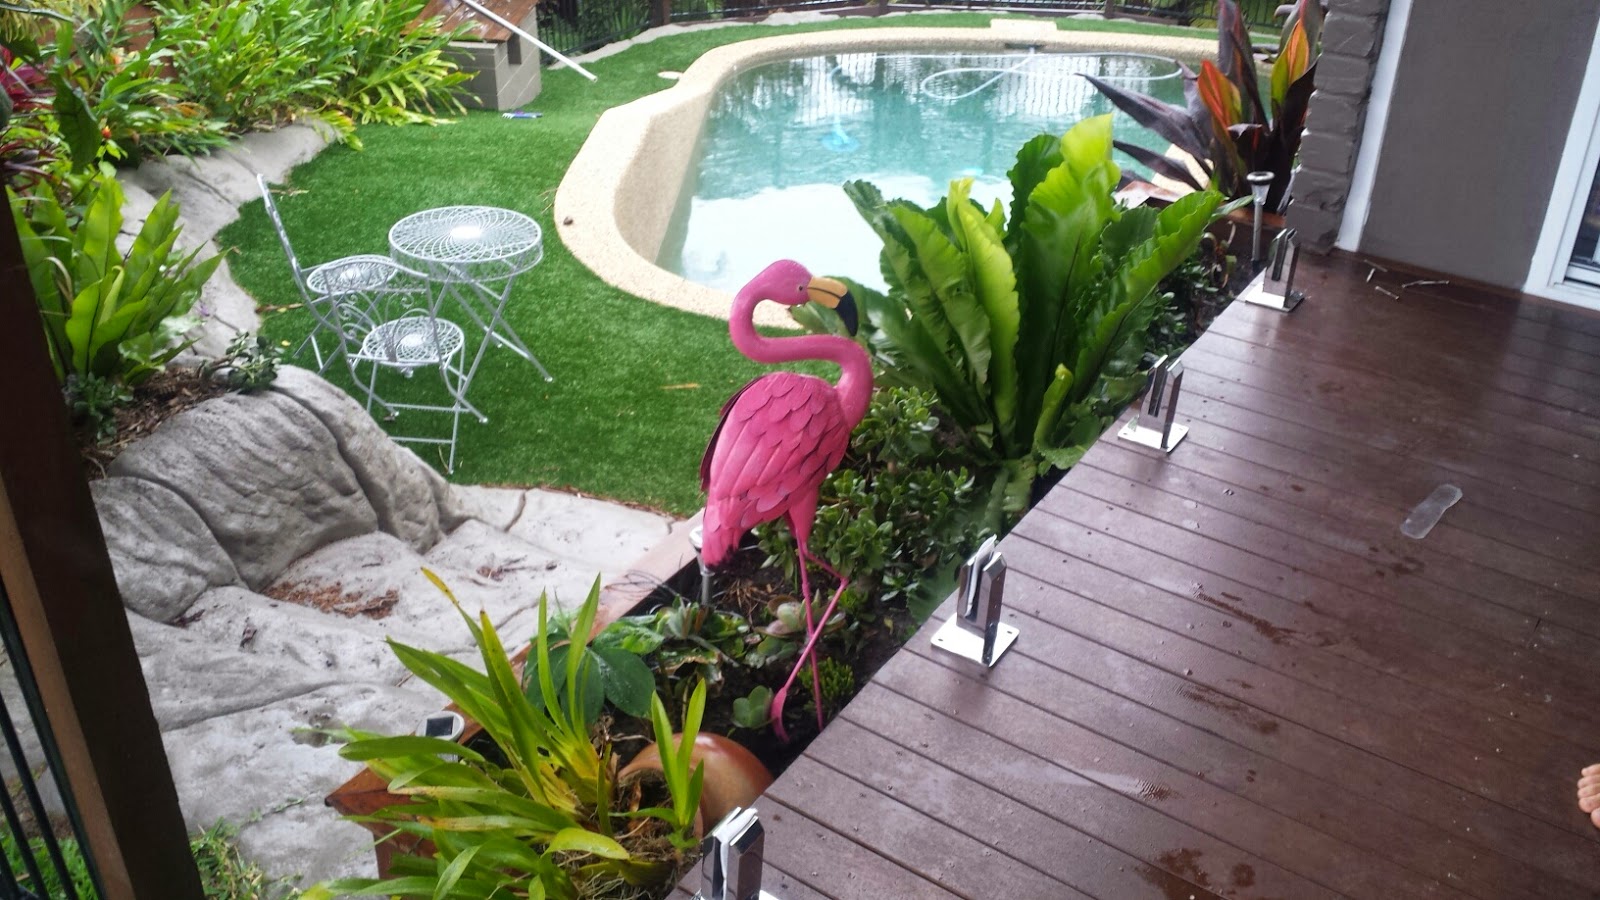
In a flurry of excitement and also trying not to get too soaked from the rain here are the progress photos I took...
It was only after that I looked at these photos that I noticed the flamingo in the picture and how it looks like it is 'overseeing' the works!!

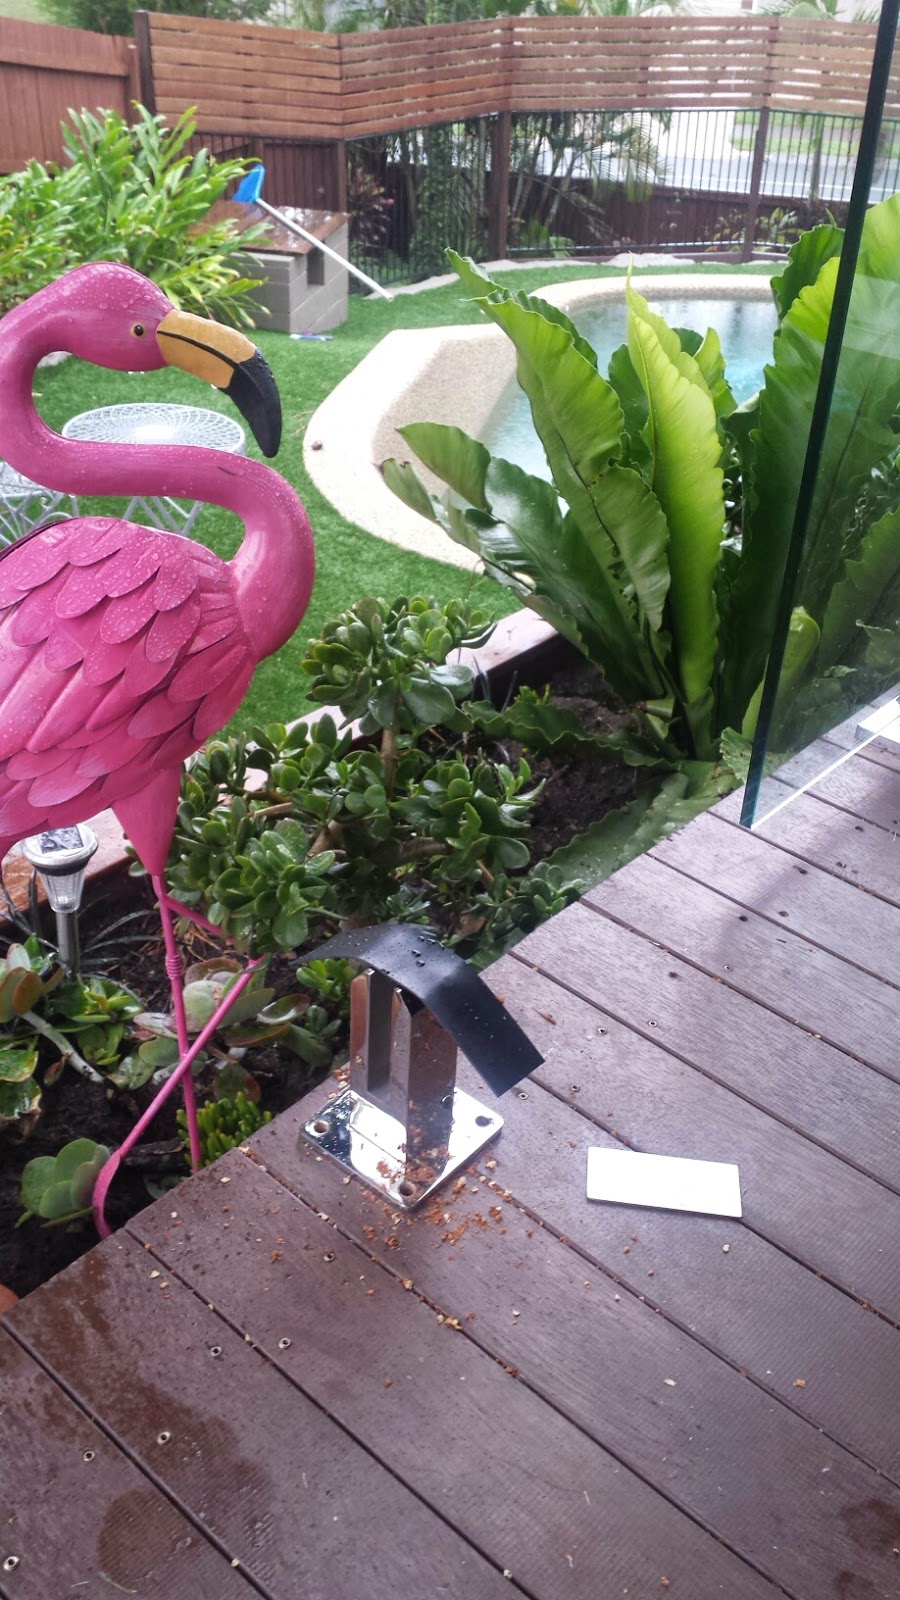
PROGRESS Measuring out the sprigots. My tip would be to use a chalk line to ensure that they are straight and double check your measurements to ensure that they are evenly spaced. Normally the sprigots are located ¼ distance in from end of the glass. e.g. our glass was 1300mm wide glass, so then divide 4 = 325mm spaced from the edge in.

PROGRESS Measuring and chalking out the location was the easy bit. Ensuring that they are 100% in line and level is the hard bit. If they are not, then the glass panel will not fit into the sprigot holders.

PROGRESS Placing the glass panel into the sprigot holders. The rubber sits on each side of the glass and the metal plate seen in the photo below wedges in to create a firm hold.

AFTER Lucky we had the flamingo to oversee the works - all turned out well and the glass now creates a seamless finish on the deck

Honestly, it is a little harder than it looks. I thought we would have the project knocked over in an hour but it is fiddly and the glass panels are damn heavy (trust me I had to help lug it 30m up a hill!). It took us about an hour and a half to setup and mark the location of the panels and install the first panel, then less than 15 minutes to fit and install the second panel. You know the saying, measure twice and cut once. Well the same applied to this...measure twice before drilling!!
I think it really completes the pool area and I even joked it now looks like an Aquarium or a tropical botanical garden behind that glass!!
What do you think of the glass panels? They complete the look now, don't you think?
Follow Glamour Coastal Living:


No comments :
Post a Comment
It makes my day receiving your lovely comments - feel free to leave one below x Ash